


How to Achieve a Scratch-Free, Mirror Finish on Your Metallographic Samples
How to Achieve a Scratch-Free, Mirror Finish on Your Metallographic Samples
Precision in Cutting and Mounting: The Foundation of a Perfect Finish
The journey to a flawless mirror finish begins long before polishing; it starts with proper sample preparation. The initial sectioning or cutting must be performed with minimal deformation and heat generation. Using a precision cutting machine with a high-quality abrasive or diamond blade, adequate coolant flow, and appropriate feed speed is crucial to prevent thermal damage, micro-cracks, and deep deformation that no amount of polishing can later remove. Following sectioning, mounting (hot compression or cold casting) stabilizes fragile, small, or irregularly shaped samples. The mounting compound should be selected for hardness, adhesion, and edge retention properties to ensure the sample and mount abrade uniformly during subsequent steps. A poorly prepared or mounted sample will exhibit edge rounding, pull-outs, or differential polishing, introducing artifacts that obscure the true microstructure. Investing in reliable, precise cutting and mounting equipment, such as the range of metallographic preparation tools available from trusted suppliers like Skyline International, establishes the essential foundation for a scratch-free result.
The Systematic Grinding and Polishing Sequence: Eliminating Deformation Step-by-Step
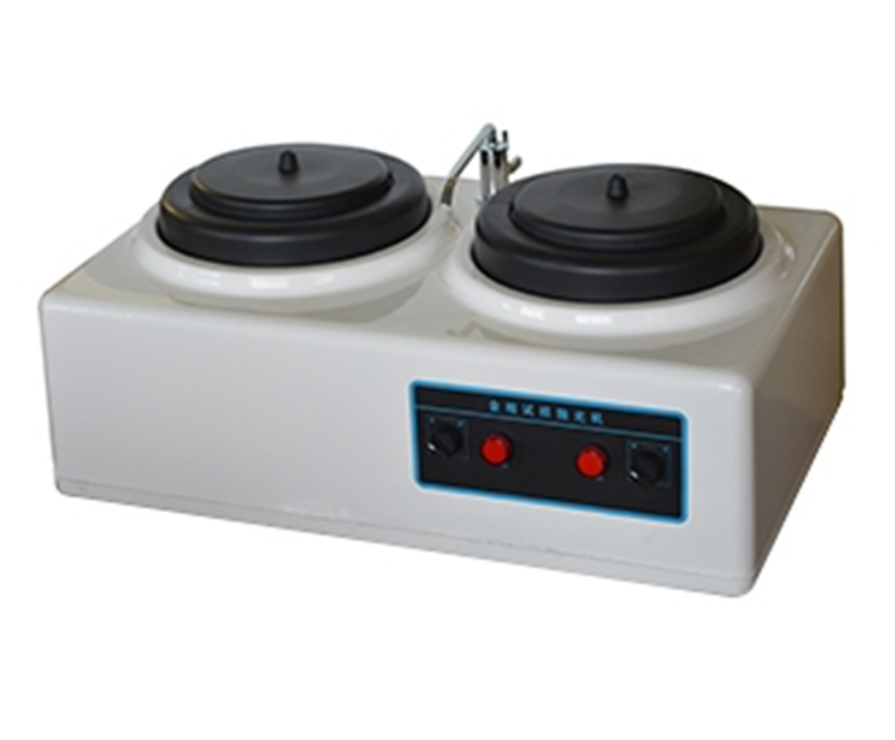
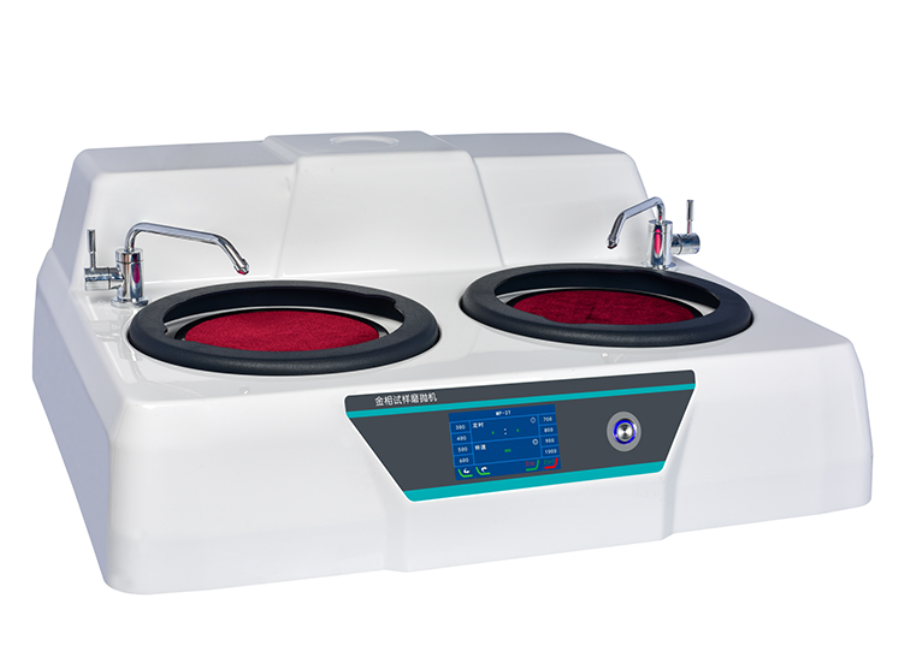
Achieving a mirror finish is a systematic, multi-stage process of progressively removing the deformed layer introduced by cutting. It is a sequence of grinding followed by polishing, each with successively finer abrasives. Coarse grinding (e.g., SiC papers from 120 to 400 grit) rapidly removes bulk material and major damage. Fine grinding (600 to 1200+ grit) eliminates the deep scratches from the previous step, creating a uniformly fine, yet matte, surface. The transition to polishing is critical. Diamond suspensions on napless polishing cloths (e.g., woven or synthetic silk) are used for the rough polishing stage (e.g., 9µm, 6µm, 3µm diamond), effectively removing the fine grinding scratches. The final fine polishing stage, typically using colloidal silica or alumina suspension on a soft, napped cloth (e.g., chemometric cloth), removes the last of the fine scratches and any minimal surface deformation, revealing the true, undistorted microstructure with a high-gloss, scratch-free mirror finish. Consistency is key: thorough cleaning between steps, applying appropriate force and time for each stage, and using automated polishers ensure repeatable, high-quality results by eliminating human variables.
Advanced Techniques, Etching, and Final Inspection
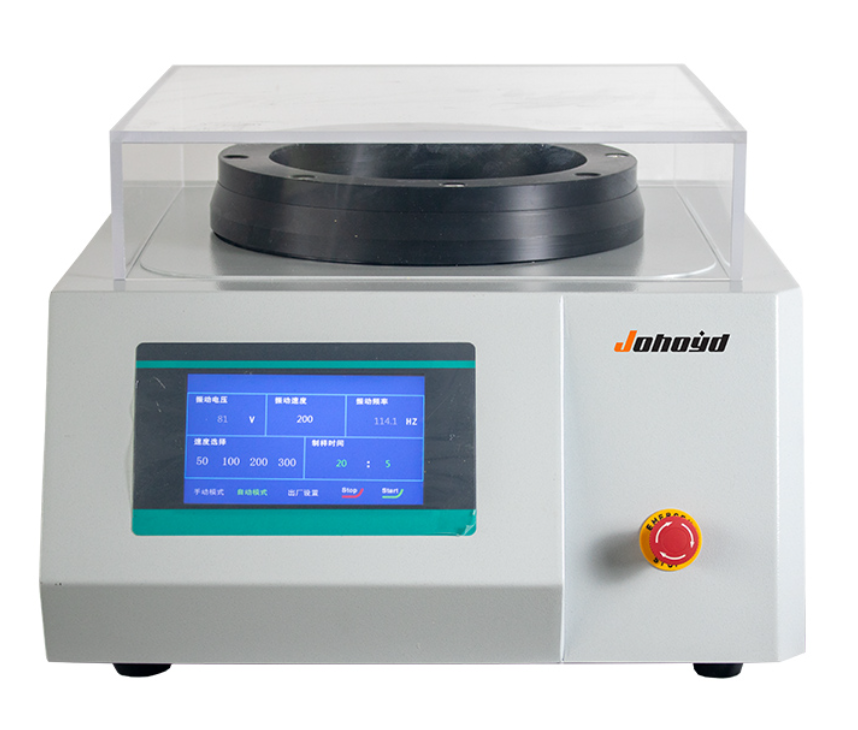
For the most demanding materials (e.g., soft metals like aluminum or copper, or multi-phase composites), standard procedures may need refinement. Vibratory polishing or electrolytic polishing can be employed as final steps to achieve a truly deformation-free surface, especially for materials prone to scratching or smearing. After a perfect polish, etching is often applied to reveal microstructural features like grain boundaries and phase distributions. A gentle, appropriate etchant (e.g., Nital for steels, Kroll's for titanium) applied for a precise duration is essential; over-etching can pit the pristine surface, while under-etching reveals nothing. The final quality is assessed under a metallurgical microscope with brightfield, darkfield, and differential interference contrast (DIC) illumination. Darkfield and DIC are particularly effective at highlighting residual scratches, contamination, or relief that may be invisible in brightfield. Mastery of this entire workflow—from precision sectioning to final microscopic validation—enables metallographers to produce consistently perfect samples, which is fundamental for accurate failure analysis, quality control, and materials research.
Achieving a scratch-free, mirror finish on metallographic samples is a disciplined art rooted in precise science. It requires a meticulously followed sequence: starting with damage-minimized cutting, followed by systematic grinding and polishing with progressively finer abrasives, and culminating in careful etching and microscopic validation. Each step builds upon the previous, and any shortcut compromises the final result. By employing high-quality consumables, automated equipment for consistency, and proven methodologies, metallographers transform opaque metal samples into windows that reveal the true, undistorted internal microstructure. This flawless finish is not an aesthetic luxury but a fundamental necessity for obtaining reliable, high-contrast micrographs that form the basis of sound material characterization, precise failure diagnosis, and confident engineering decisions.