


10 Steps to Perform an Accurate Rockwell Hardness Test
10 Steps to Perform an Accurate Rockwell Hardness Test
The Foundation of Accuracy (Steps 1-4)
The accuracy of a Rockwell hardness test is determined before the indenter even touches the sample. Meticulous preparation is non-negotiable. Step 1: Select the Correct Scale. Consult the material specification or standard (e.g., ASTM E18) to choose the appropriate Rockwell scale (e.g., HRC, HRB, HRA). This dictates the indenter type (diamond brale or carbide ball) and the test forces to be applied. Using the wrong scale invalidates the result. Step 2: Verify Tester Calibration. Ensure the hardness tester is calibrated using certified test blocks traceable to national standards. Perform this check daily or before a critical test series. Step 3: Prepare the Sample. The sample must have a smooth, flat, and clean surface on both the test and support sides. Remove any scale, coating, or debris. The sample must be thick enough to prevent anvil effect and securely seated. Step 4: Mount the Correct Indenter and Anvil. Install the specified indenter (diamond for C, A, D scales; ball for B, F, G scales) and a suitable anvil that properly supports the specimen without flexing. These initial steps create the stable, controlled foundation upon which precise measurement depends.
Precision in Action (Steps 5-8)
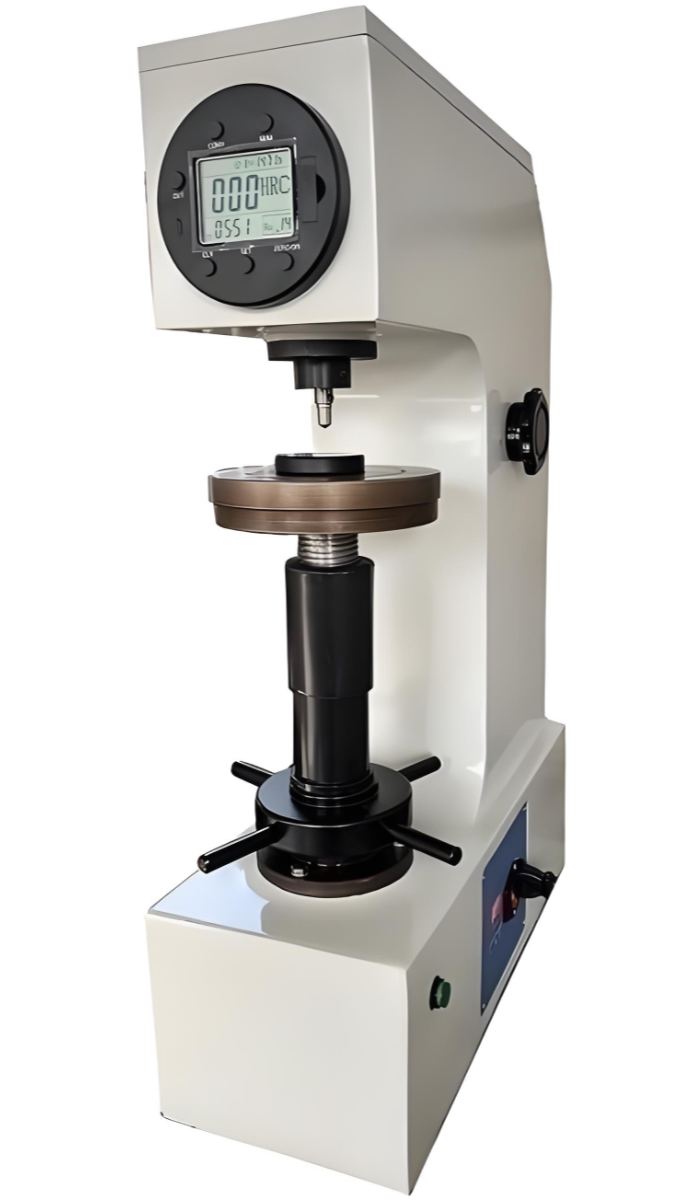
The testing phase requires a steady, vibration-free environment and strict adherence to the force application sequence. Step 5: Position and Secure the Sample. Place the sample firmly on the anvil. For manual testers, slowly raise the sample using the handwheel until it makes contact with the indenter and the small pointer or indicator is in the correct start position (e.g., the dot or "set" position). This applies the minor (preliminary) load. Step 6: Apply the Major Load. Activate the mechanism to apply the major load. On automatic testers, this is done with a button; on manual models, gently release the load lever. The major load should be applied smoothly and without shock. Step 7: Maintain Load Dwell Time. Allow the major load to remain for the specified dwell time (typically 10-15 seconds as per standards) to allow for plastic deformation to cease. This is critical for materials that creep. Step 8: Remove the Major Load. Remove the major load while leaving the minor load applied. The depth measurement is taken at this point, relative to the depth under the minor load.
Ensuring Result Integrity (Steps 9-10)
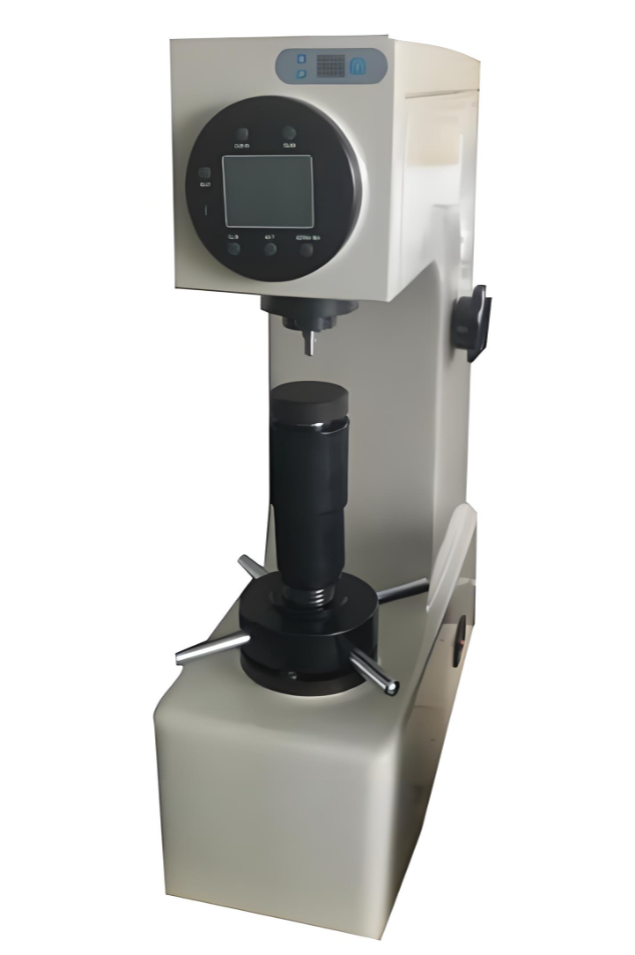
The final steps involve reading the result and verifying the test's validity. Step 9: Read the Hardness Value. Once the major load is removed, the hardness value is directly displayed on the analog dial or digital readout. Record the value immediately along with the scale used (e.g., 60 HRC). Do not average multiple readings from a single indent. Step 10: Verify with a Repeat Test and Inspect the Indentation. Move the sample to a suitable location and perform a second test. The results should be within the repeatability tolerance specified for the material and scale. Finally, inspect the indentation if possible. A clear, symmetrical indentation confirms proper test execution. An irregular shape may indicate sample slippage, an off-angle test, or an unsuitable surface condition, casting doubt on the result. Documenting all parameters (scale, load, indenter) is essential for traceability.
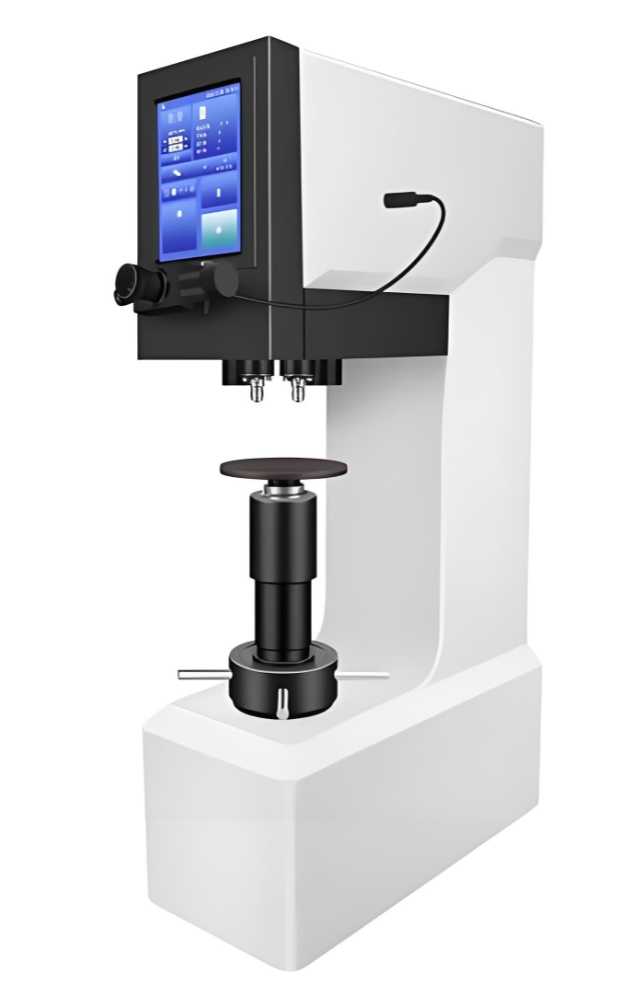
Performing an accurate Rockwell test is a systematic process where each step, from method selection and calibration to precise execution and verification, is critical. Neglecting any single step can compromise the entire result. By rigorously following this 10-step procedure, operators can generate reliable, repeatable, and defensible hardness data that forms the bedrock of effective quality control and material certification.